A Tailor, Not a Weaver
The most common question I get while working in any of my Renaissance Festival booths is, "How do you get the color in the glass?"
Uh... I don't. Generally speaking, anyway.
The glassmaker is responsible for coloring the glass, and has been both the main maker and distributor of sheets of glass for stained glass artists since waaaaaaaaaaaay back.
![A print from 1568 showing glass makers coloring glass [An Introduction to English Stained Glass, Michael Archer (1985)]](https://glasslassie.com/media/posts/2/Glazier-2.png)
Most of the glassblowers I've met have been vibrantly effusive folks that like to push the envelope in terms of making the glass comply with their wishes. On the other hand, most of the stained glass artists I've met, while they can be just as vibrant or effusive if you catch them at the right moment, are generally more subdued and rules-oriented than their glassblowing brethren.
I suspect it’s because the tools I can use to render an idea into stained glass are somewhat limited when compared with all of the ways that one can manipulate glass when it's in a more liquid form. Maybe that alone explains the personality and career differences between glassblowers and stained glass makers.
Back to the topic at hand, though: "How do you get the color in the glass?" Or more accurately for stained glass artists: How do you get all the different colors in the glass?
To keep it simple, I usually start with this analogy:
The glassblower (or sheet glass maker) is like a weaver of fabric. And that I am more like a tailor, in that I make items from the "fabric" of glass.
A diamond pane window (Fig. 2) is the most basic of stained glass window designs. For a window like that, the stained glass maker has simply cut a sheet of glass into pattern pieces, and assembled it from the glass "fabric". Sort of like how my mom would make clothes for me as a kid at home.
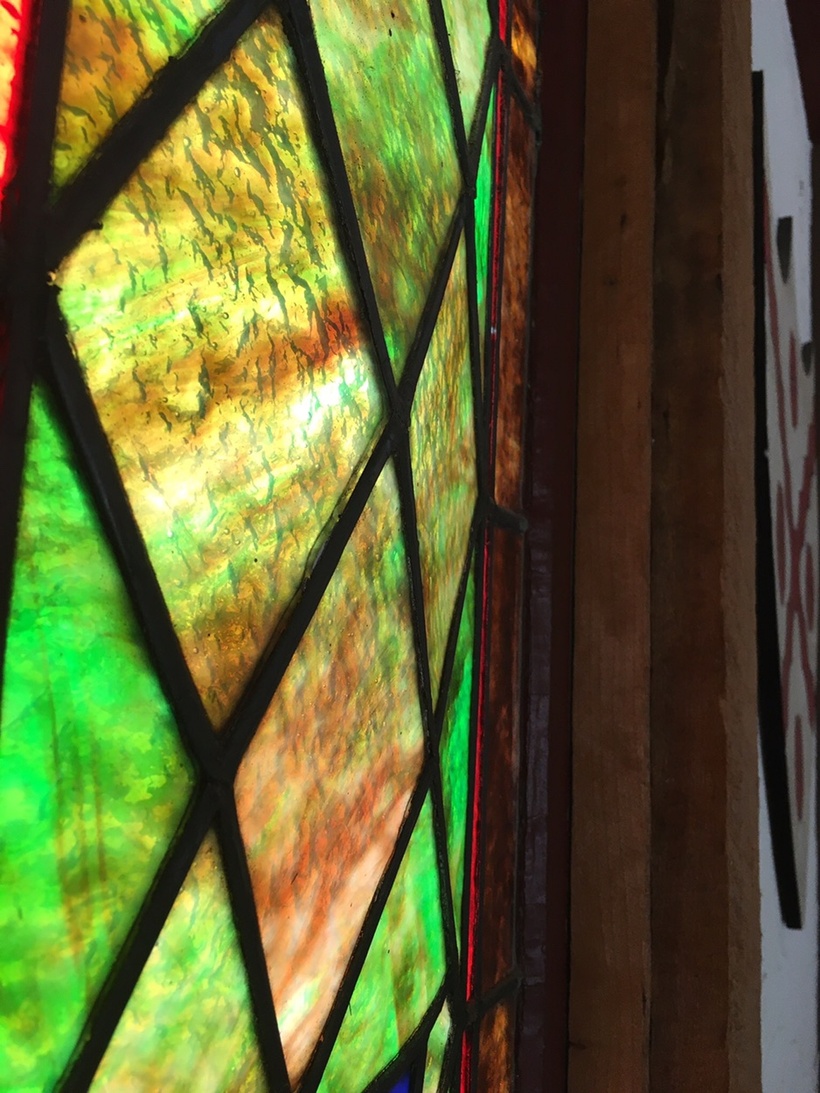
But that’s the simple version. Since each sheet of glass tends to already have color in it from the glassmaker, that can be a problem in stained glass work. With a tailor, the seam between fabrics is tiny and almost invisible. If I just used the colors already in the glass itself, every color change would require a lead line. And that’s where a lot of stained glass artists stop.
I can’t just stop there, though. With the complexity of some of work I do, I would have windows that were nothing but lead lines!
There are two big ways around the "color change = lead line" problem with stained glass: flashed glass and painting the glass and firing the colors into it. Each has some big pros and cons associated with it.
I have years and years of experience using a sandblaster, and not as many years holding a paintbrush, so flashed glass is the easiest solution for me.
Flashed glass is similar to the cross-section of a lightly frosted brownie.
That is, if the brownie was made of clear glass, and the frosting was made of red, orange, green, blue, or purple glass. I put something called resist on the purple glass, cut out the design I want to have left behind, and then etch (or carve) the purple “frosting” off, revealing the clear glass below.
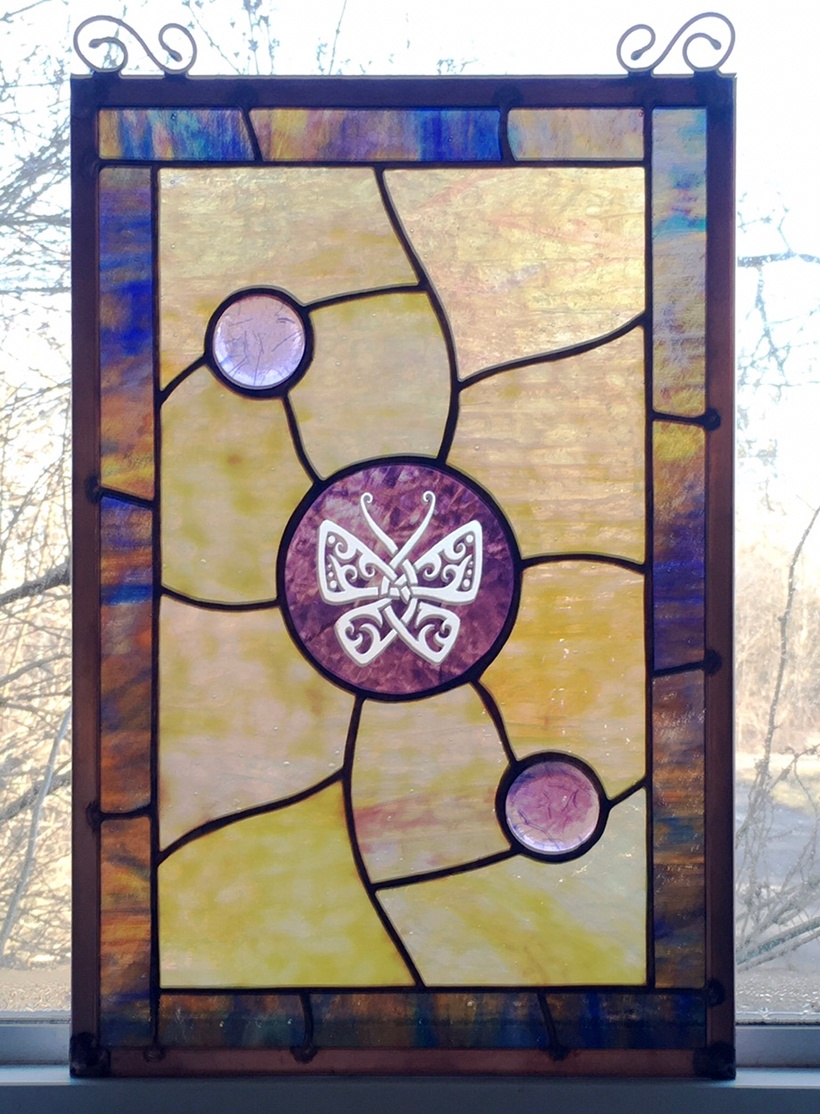
Flashed glass was invented to solve a problem with heraldry in the late medieval era. You might have noticed that I didn’t list “yellow” in the colors used with flashed glass. That’s because yellow – in glass – is often achieved by a special substance called silver stain. When silver stain is applied to the back of the glass and fired into the glass, it can exhibit any shade of yellow from a bright lemon to a deep amber. The type of yellow you end up with depends on the strength of the stain and the temperature the piece is taken to.
Yellow is important, because in heraldry, the colors I mentioned above – red, orange, green, blue, or purple – are always topped by designs in a "metal" color. And the two "metal" colors are either “gold” (meaning yellow) or “silver” (called argent, and meaning clear or white). So with the addition of flashed glass to the stained glass maker's skills, every color in heraldry can be put in a window without a lot of lead lines taking up space.
While that's great for making clear and complex designs that are impossible to achieve in a traditionally leaded window where "color change = lead line", it has a huge drawback. In modern times, flashed glass is ridiculously expensive. There are two companies in the world that still make it, and they are both located in Europe.
There’s one other color I left out when talking about heraldry: black. The color black is a funny thing in glass. Stained glass is really all about the manipulation of light and how we see it... including the fact that our eyes naturally pass over organically drawn lead lines in a window. That’s different than the way our eyes pause at geometric lines in a window. If you think back to the diamond pane window above, you'll probably catch what I'm saying.

So black glass that is truly black (and therefore opaque) is a modern invention. It acts a little bit like a black hole when used in a window, sucking in all of the colors around it. Actual opaque black glass never reads quite right, because it really neuters the "light manipulation" effect that stained glass is entirely based on.
I tend to problem solve black glass with glass paint. Glass paint – which is actually fired (or baked) into the glass itself – is probably the most versatile tool in my stained glass arsenal. For heraldry, I matte a piece of clear glass with a dense coating of black glass paint, and then use a badger stippling brush (yes, real badgers are involved) to tap the paint repeatedly. That both dries the paint more quickly and puts tiny pinpricks of light into the painted surface.
Paint is such a versatile tool with glass because when it's used judiciously, it can fool the eye by selectively blacking out small areas of glass in a window that would be impossible to cut out by hand. In the dragon window above, the feet of the dragon are actually a very different shape of glass – as indicated by the lead line – than what appears to be the shape of the feet. That's because the background of those pieces of glass were selectively blacked out with glass paint.
The third way I use glass paint (after the shading and "fool the eye" purposes) is to create fine details impossible to otherwise show with lead, like the dragon's facial details. That lets me really get creative with the designs in the glass.

So why don’t I just use paint for every thing that I work with? Here’s why: Remember that I said the paint gets baked (or fired) into the glass? Normally when I work with sheets of stained glass, they’re not meant to be reheated again. But glass paint gets fired in around 1,250° F – about six times the boiling point of water. A lot of glass changes with the application of that much heat, usually either by striking, opacifying, or devitrifying.
Hot colors are often colloquially called strikers. That means that the color can radically change, like from blood red to lemon yellow, or orange to deep red, etc. Opacifying – meaning the glass becomes a lot more opaque and lets less light through – happens to a lot of opalescent (or translucent) glass when it is put through the kiln again.
Also, a lot of opalescent glass is very hard – aka higher on the Mohs scale – when compared to clear (or cathedral) glass. So opalescent glass doesn't always take the paint well to begin with. Paint lines on opalescent glass often "curdle": smooth paint lines develop pin holes or crawl into broken lines, because the glass is literally too hard to accept the paint like softer glass does.
Lastly, sometimes glass will devitrify, which means that while reheating it, the surface gets a scummy look or sheds tiny bits of glass "fuzz". That “fuzz” is super unpleasant to handle, let alone the hazard of putting shedding glass into a stained glass window.
Despite all of those problems, I love painting.
The biggest reason I love painting is that painting is one of the few things in the studio that makes me completely lose track of time. That's when I know I'm really dancing with my muse, and making art that makes my soul float away for awhile.
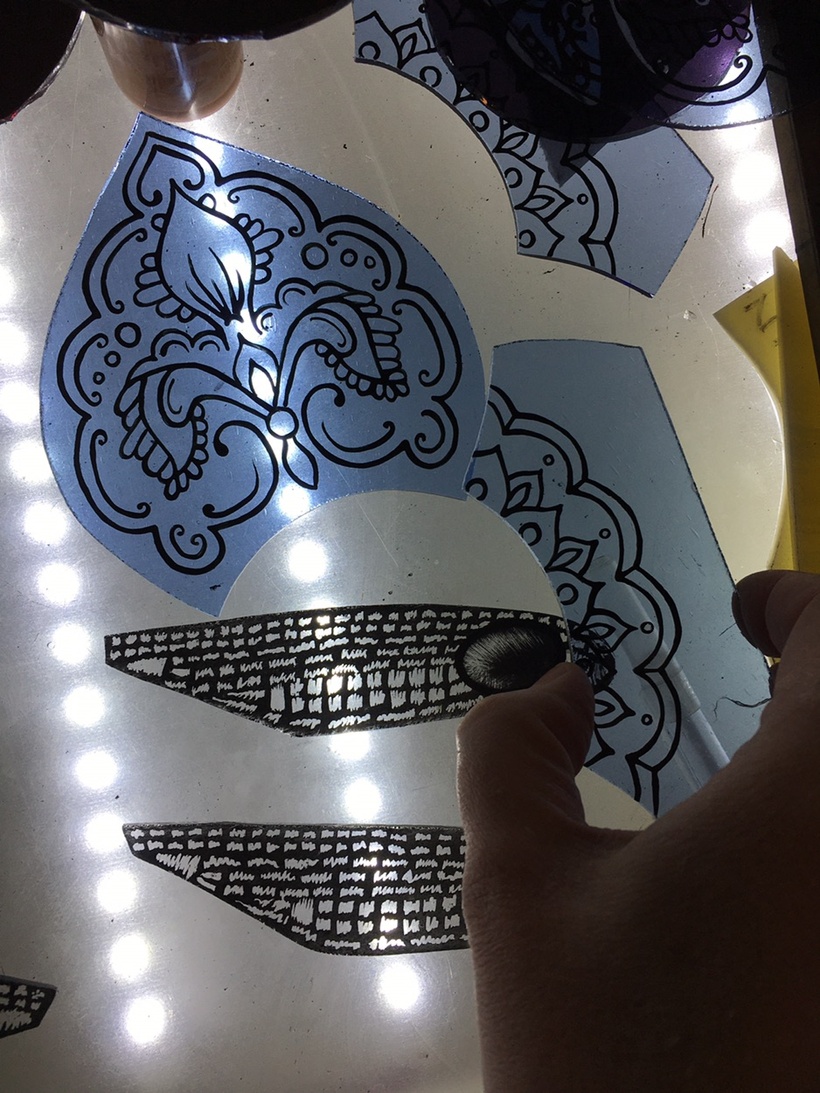
But I’m still only referring to “black” paints – meaning totally opaque ones that block out the light. While I’m pretty skilled with those kinds of paints, I was less skilled with enamel paints. Those let some of the light through the paint, giving us the best of both worlds. Despite how good it can look with the light coming through the paint, I’m pretty sure enamel paints are the bane of every glass artist who works with them. I’d often have to redo pieces with enamel paints, because they’d fry or curdle.
That made working with paint – particularly the enamel ones – very time consuming. So while I love painting, and would like more excuses to do it more often, I also knew that I still had room to improve my efficiency and speed with painting. And that limited the number of pieces that I could make in the higher price range that my painted work lands in when the majority of my sales involve a two digit price tag.
Which brings me to my patrons on Patreon. What's awesome about having a group of people that I send stuff to once a year is that gives me the ability to design projects that both help me grow my skills and are, in essence, already paid for because of my patrons’ choice to support me.
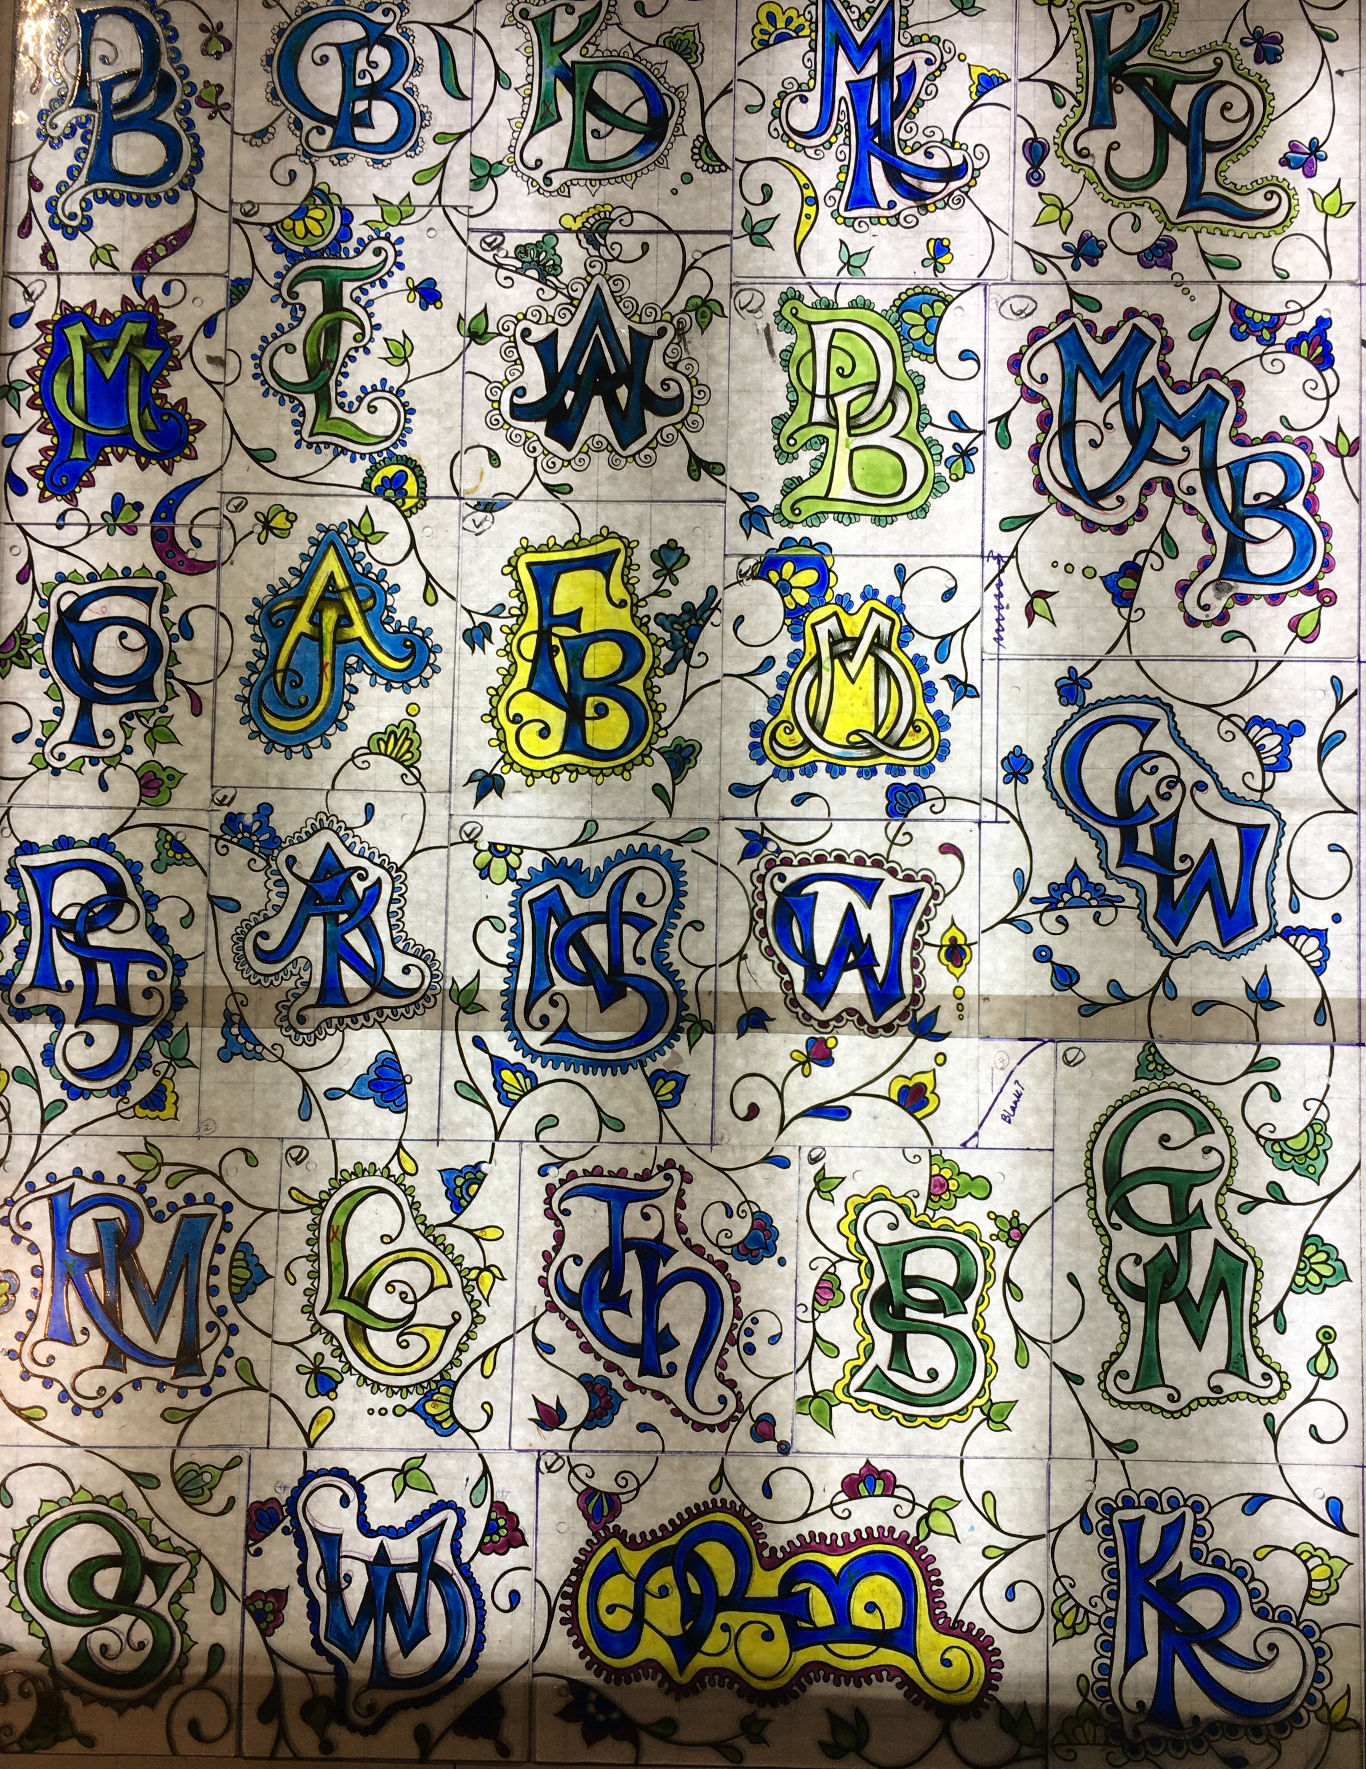
As a result, I cannot thank my patrons enough for their patronage, and why I create stuff for each of them, from weekly content like this at lower tiers up through individual works of art. For 2021 I designed a monogram project using enamel paints, where every patron has a monogrammed piece being shipped to them individually… but they also all fit together in a giant single work.
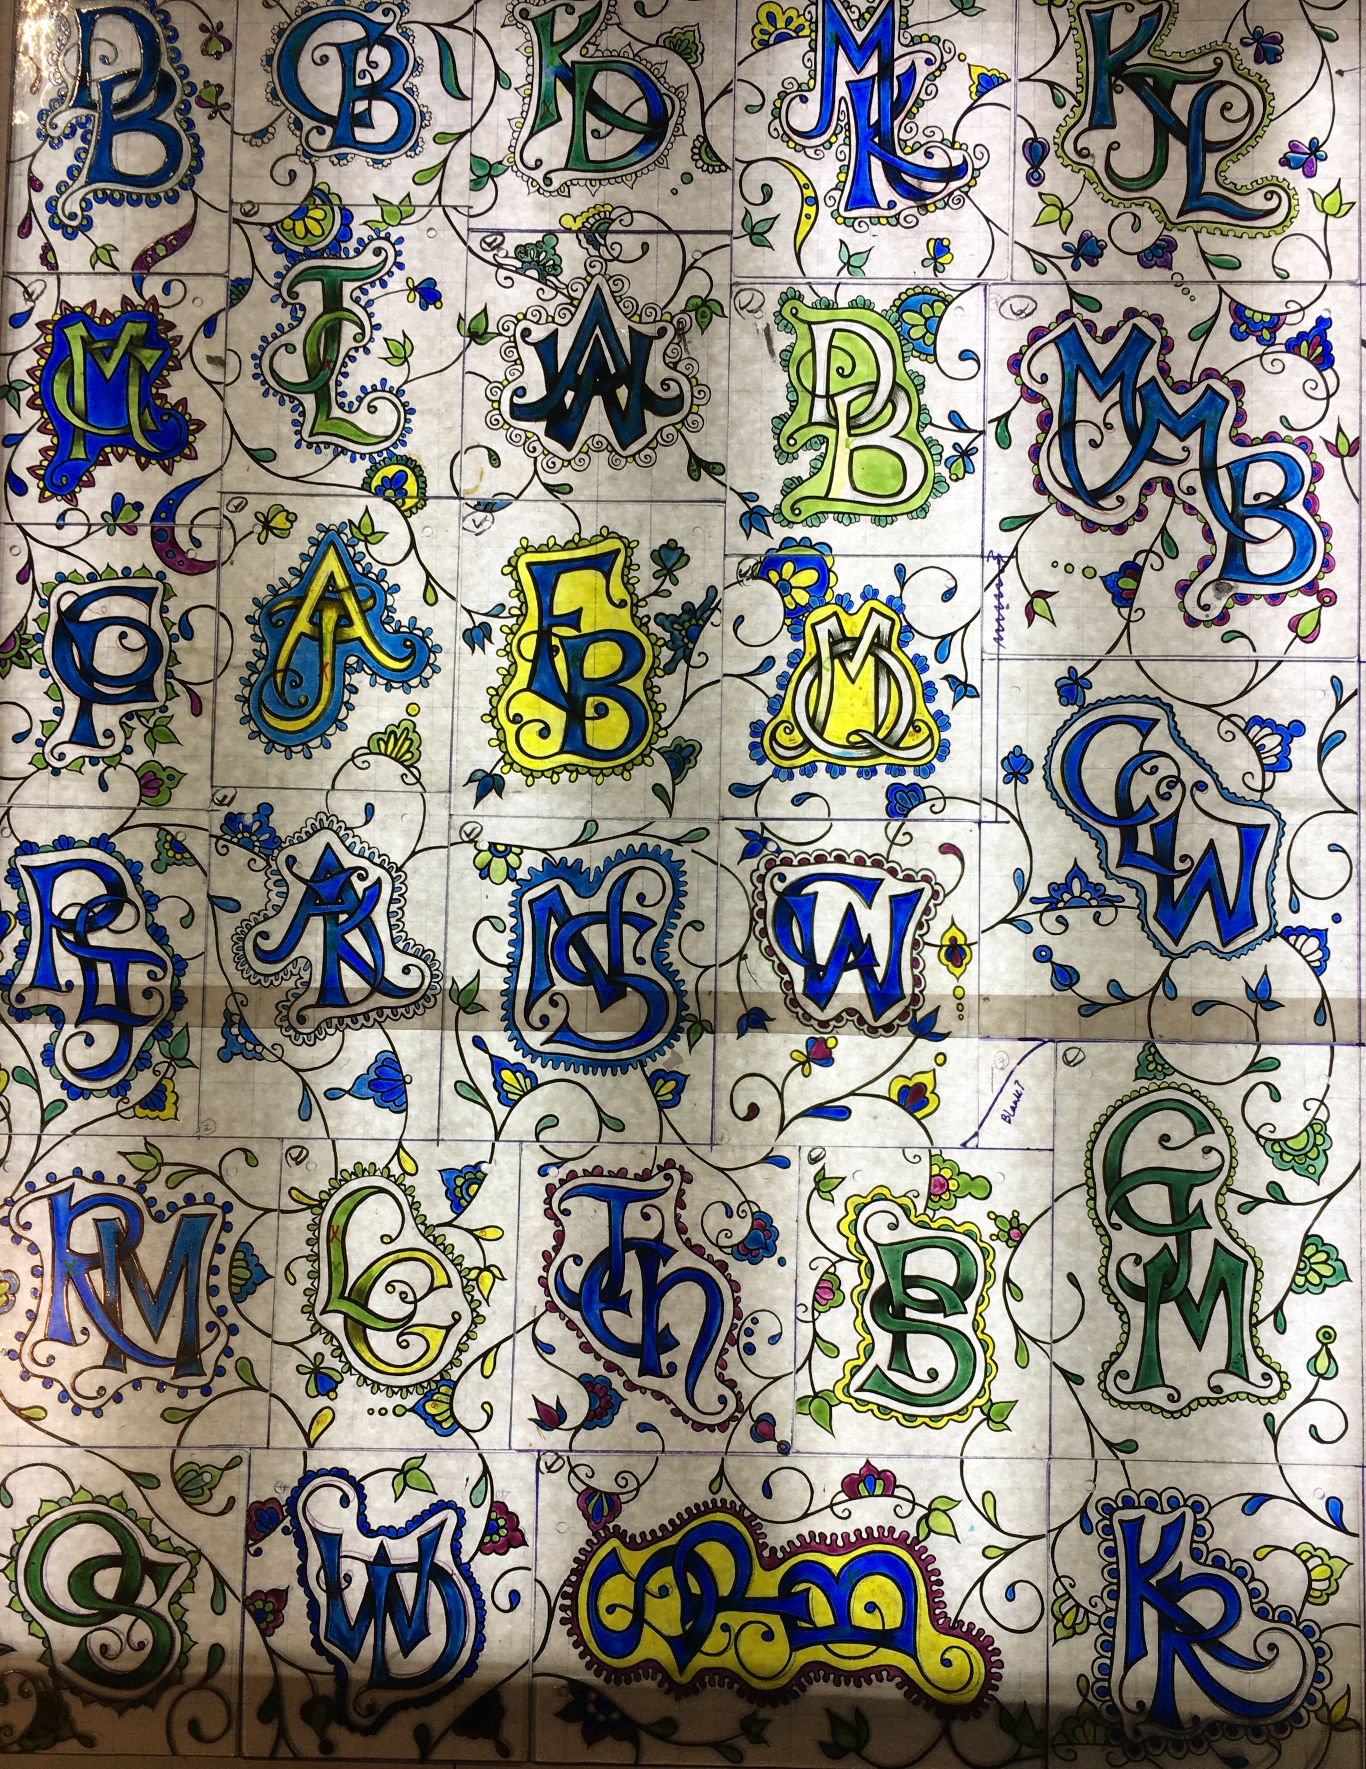
You see, the colored paint (called enamels) that I've used in it is something that I've been struggling with and improving on since before the pandemic. This project gave me the practice hours necessary to raise my skill in it enough to be able to now include it in my regular body of work. I can't tell you how cool that is.
And I can't tell you how much I appreciate my patrons, because I don't know of another way that I could've had the ability to create something like this – and improve my skills at the same time – without them.


